Delivery messages
Configure how estimated delivery dates are displayed.
Deprecated feature
This feature is deprecated and will be removed soon. We recommend all merchants to disable this feature and migrate to widgets .
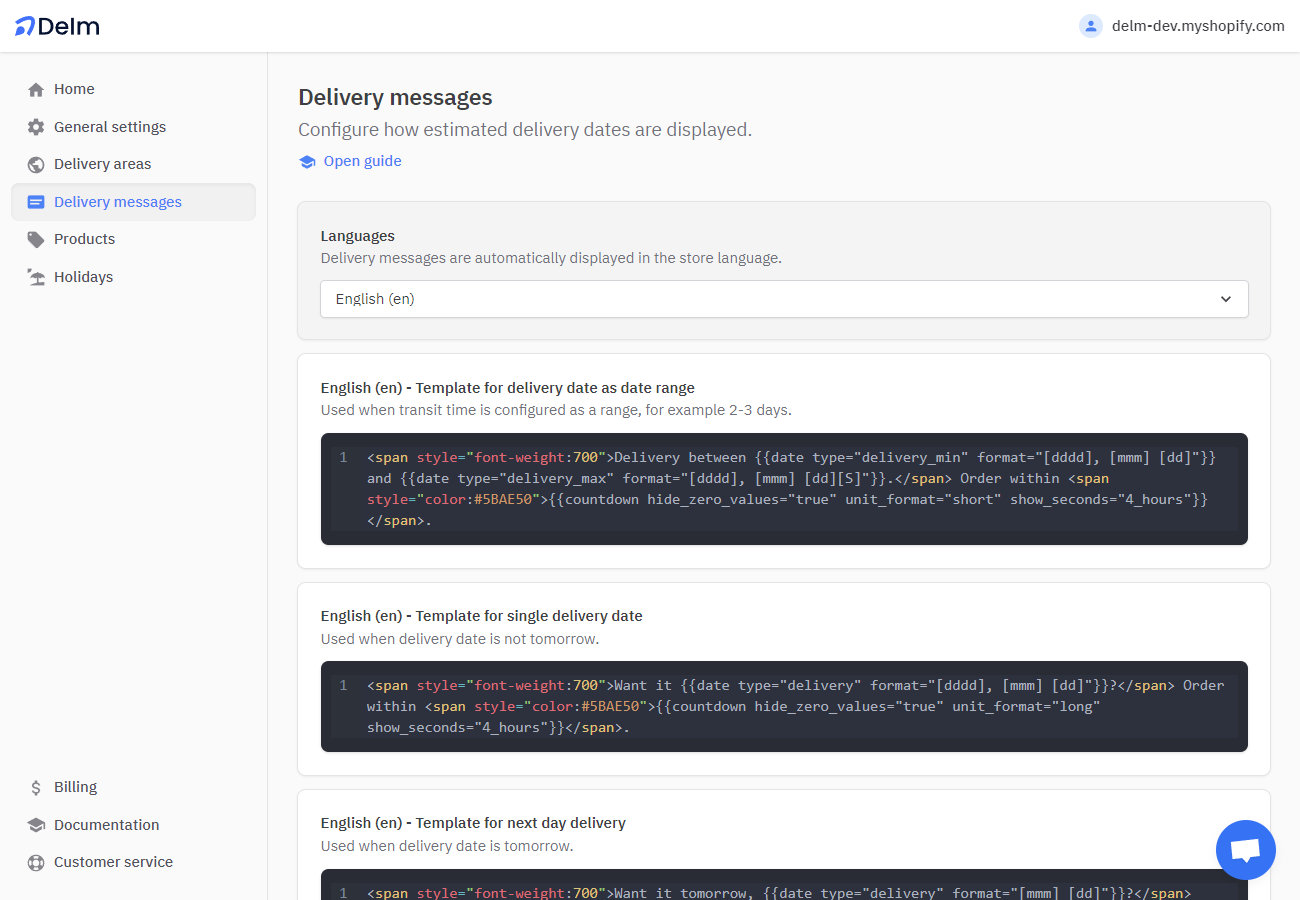
The displayed delivery message depends on the respective transport time and the delivery date.
| Template | When is it used? |
|---|---|
| Template for delivery date as date range | Used when transit time is configured as a range, for example 2-3 days. |
| Template for single delivery date | Used when delivery date is not tomorrow. |
| Template for next day delivery | Used when delivery date is tomorrow. |

Variables
Variables are placeholders for dynamic content in your delivery messages. A variable is enclosed in double curly brackets, for example {{date}}.
Options for a variable are separated by a space, for example {{countdown show_seconds="never"}}.
Date
{{date}} displays a date in a specific format.
Example
--- Template
Delivery between {{date type="delivery_min" format="[dddd], [mmm]. [dd]"}} and {{date type="delivery_max" format="[dddd], [mmm]. [dd]"}}.

--- Output
Delivery between Monday, Mar. 07 and Thursday, Mar. 10.
Options
| Name | Description |
|---|---|
type | Required - Use delivery_min and delivery_max to display delivery dates in the template for delivery date as date range. Use delivery for other templates. Use dispatch to display shipping date. |
format | Required - See date formats table below. |
Date formats
| Symbol | Example | Description |
|---|---|---|
[dddd] | Monday | Day name |
[ddd] | Mon | First three characters of day name |
[dd] | 01 | Day of month number with trailing zero (from 01 to 31) |
[d] | 1 | Day of month number (from 1 to 31) |
[S] | st | Ordinal suffix |
[mmmm] | January | Month name |
[mmm] | Jan | First three characters of month name |
[mm] | 01 | Month with leading zero from 01 to 12 |
[m] | 1 | Month from 1 to 12 |
[yyyy] | 2022 | 4 digit year |
[yy] | 22 | 2 digit year |
The names of weekdays and months are translated automatically.
Countdown
{{countdown}} displays a countdown to the next available shipping date.

Example
--- Template
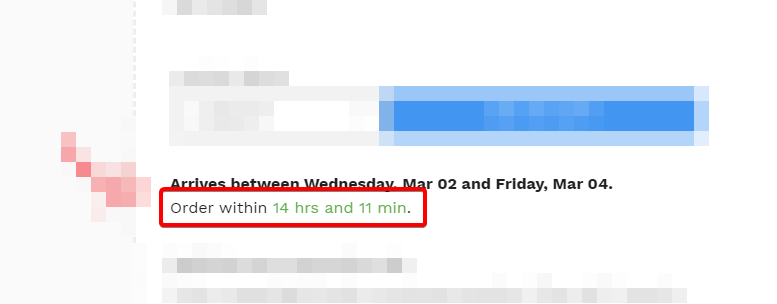
Order within {{countdown show_seconds="never"}}

--- Output
Order within 14 hrs and 20 min
Options
| Name | Description |
|---|---|
unit_format | long for written out or short (default) for abbreviated time units. |
show_seconds | always (default), never, 4_hours, 3_hours, 2_hours, 1_hour |
hide_zero_values | true (default) or false, for example: 20 min 20 sec versus 0 days 0 hrs 20 min 20 sec |
leading_zeros | true or false (default), for example: 20 min 1 sec versus 20 min 01 sec |
separator | Change unit separator, for example: 1 day, 2 hrs, 20 min and 10 sec |
last_separator | Change separator for last unit, for example: 2 hrs, 20 min and 10 sec |
day | Override translation for "day" |
days | Override translation for "days" |
hour | Override translation for "hour" |
hours | Override translation for "hours" |
minute | Override translation for "minute" |
minutes | Override translation for "minutes" |
second | Override translation for "second" |
seconds | Override translation for "seconds" |
Delivery message position
The delivery message can be displayed anywhere on your product pages. We recommend placing it below or near the "Add to Cart" buttons.
Delm uses a CSS selector to insert delivery messages into your product pages. CSS selectors are generally used to target HTML elements on web pages.
Get in touch
Please contact us if you need help integrating Delm with your Shopify theme.
Change position in Shopify theme code editor
Alternatively, you can set up Delm to control the position of the delivery message directly in your theme code editor.
This is useful if you want to move the delivery message freely in your theme code editor, or if you can't find the right CSS selector.
- Navigate to Shopify themes.
- Click "Edit code" on the theme you want to edit.
- Open any
.liquidfile that is used on product pages. - Paste the code snippet below in the desired location and save the file.
- In Delm, change the CSS selector to
#delm-appand save.
<div id="delm-app"></div>Disable Shopify ScriptTag API
The Shopify ScriptTag API allows us to install JavaScript files on your storefront. If you want to include our JavaScript file manually, you can disable the Shopify ScriptTag API in Delm.
Note
Shopify has announced that the ScriptTag API will no longer be available the future. We are working on a solution to replace the ScriptTag API with a theme app extension.
How to manually include the Delm JavaScript file?
Note
JavaScript files that you include manually are not removed automatically when you uninstall Delm.
- Navigate to Shopify themes.
- Click "Edit code" on the theme you want to edit.
- Search files for
theme.liquidand open it. - Locate
</head>intheme.liquidand paste the code snippet below before</head>. - Save changes.
<script async src="https://cdn.delm.io/deliverymessage.js"></script>Common questions
Can I show different delivery messages for specific products?
That's not possible yet.

